How to Cover Buttons with Fabric
This tutorial will show you how to cover a button with fabric so you can make your own self covered buttons.
Self cover button kits usually come with instructions and circle templates, but if you’ve lost the instructions, or you’re just not sure how to go about it, then hopefully this tutorial will be helpful.
1. Download and print this fabric covered button template PDF which contains circle templates for various size buttons. Trace the appropriate size circle onto your chosen fabric and cut out.
2. Hand-sew a running stitch around the circle about 1/8in from the edge of the fabric.
3. Place the button face down on the wrong side of the fabric.
4. Pull on the thread to gather the fabric up over the button.
5. Gather the fabric in tightly and tie off the thread.
6. Place the button backing over the shank (with serrated edge towards fabric), make sure all the fabric is caught underneath the backing, then push into place.
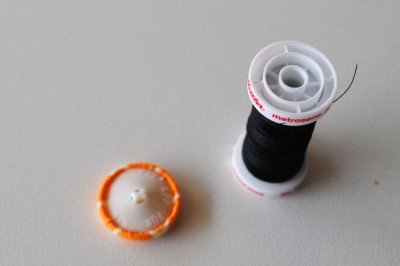
7. To push the backing all the way into the back of the button, place the end of a cotton reel over the button backing and push down firmly.
8. Done!


